
The Self-Watering Planter
Share
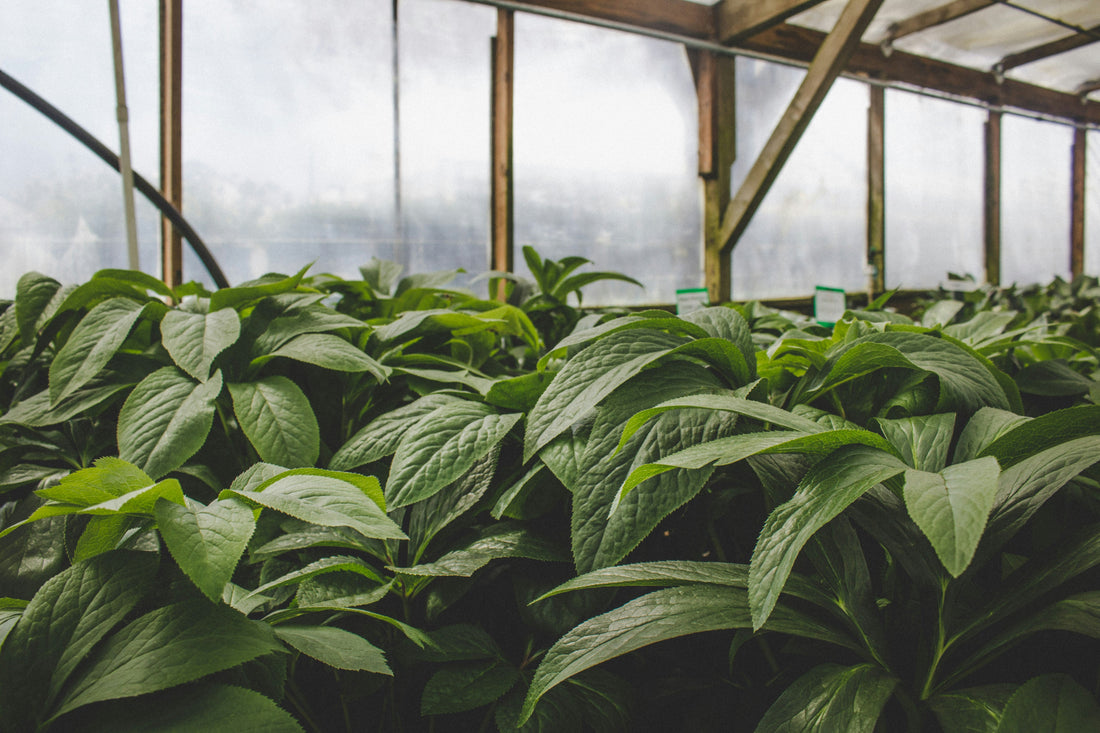
It is common knowledge that not everyone has a green thumb. Being able to tend to a garden and grow flowers and veggies is looked upon as a talent. Part of the reason for this is that the hustle and bustle of today's society often leaves little time for tending to a garden, even if the garden consists of just a few plants in the kitchen. Plants can’t communicate verbally with us to let them know their needs. They simply can’t cry out for attention. It can be frustrating because plants only need water and light and are mostly self-sufficient when they receive these two things.
Today’s activity will help everyone be a better gardener. In the tradition of the self-cleaning oven and the new breakthrough in self-driving cars, we are going to create self-watering plants. Best of all, we will create these with items that are commonly found in your home already: no special shopping trips required. All you will really need is an old 2-liter bottle with its cap, a pair of scissors, some yarn or fabric, and your planting materials (soil and seeds). As always, small children will need supervision as they work on this activity.
This bottle will be created for biological and ecological purposes, they will be used to grow plants by repurposing an already existing container. However, the science behind making it work is all physics. Water will be working against gravity, using the principles of capillary action, to rise up the fabric and help keep the plants well hydrated. Ironically, capillary action is also the method roots use to bring the water to the rest of the plant. In a way, we are simply creating an extended root system for the plant.
To start, cut the 2-liter bottle in half so you have the top and bottom halves separated. Do not cut the bottle so you have two identical halves. For this, you will need the top and bottom of the bottle intact. Next, you will need to make a small hole in the bottle cap. This is done easiest with a hammer and nail, but it can be also done with scissors. Make sure the hole is big enough to pull the yarn through. If you do not have yarn, you can also use any fabric such as twine, string, or even some material from an old t-shirt. Make sure you have a couple inches (3-4) hanging from the top of the bottle cap, and a few more inches (6-8) on the inside of the bottle cap. If the hole is too big for the material and it is loose, you can tie a knot in the fabric to keep it in place.
Screw the bottle cap back onto the top of the bottle and place the bottle top upside-down into the bottom of the bottle. You can begin to see the shape of your planter. Now carefully begin to fill the top of the bottle with soil. Be sure to hold the fabric along the side of the bottle as you add the soil to make sure that the fabric does not become buried at the bottom. As you add soil, you will want to layer the fabric within the soil. The fabric is the water delivery mechanism, so try to spread it out in the soil so it can water all the soil. A good way to do this is to coil the fabric along the soil.
Now, you can add your seeds to the soil and water the top of the soil as you normally would. Once you do this, fill the bottom part of the bottle with water, making sure that the fabric hanging from the bottle cap is in the water. The fabric will soak up the water and bring it to the top of the water bottle, creating your very first self-watering planter!
There are a few experimental parts of this that you can test. The fabric used to water the plants can be changed, as can the pattern of the fabric within the soil. You can also change the shape of the planter by cutting the bottle in different places to add a longer top or bottom. Be sure to change one variable at a time to ensure you have a proper experiment.
Interested in starting an indoor garden? Check out our automated hydroponic racks!